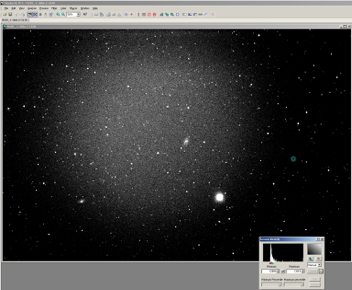
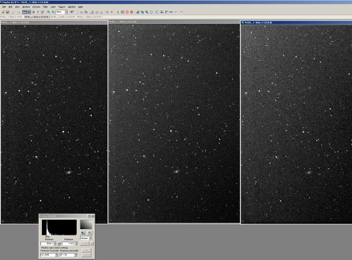
1. Load your astrophoto captured by your One-Shot-Color camera. Vignetting is visible. The light pollution impact is also present

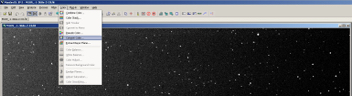
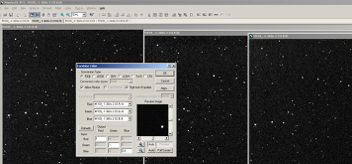
2a MaximDL-Process-Set_Calibration
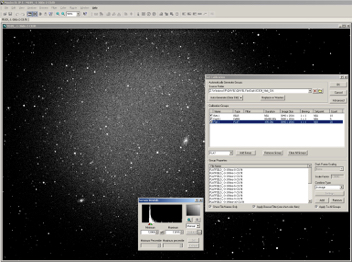
2. MaximDL-Process-Set_Calibration - Set a calibration group to clean your image properly. This will eliminate the noise of the sensor and the electronics and eliminate vignetting of the lenses and it will remove the dust prints
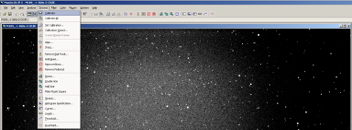
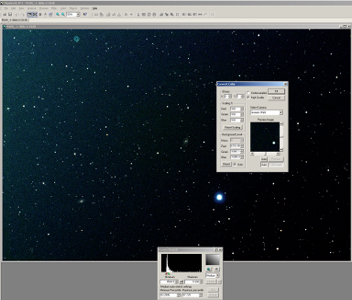
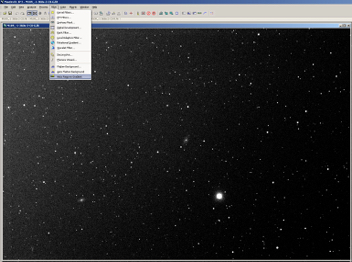
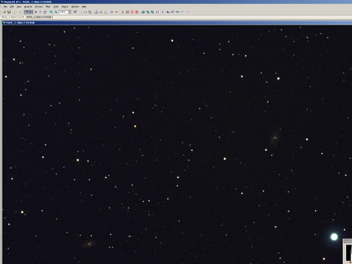
3. MaximDL-Process-Calibrate - Now calibrate you image. After that you will notice the hidden light pollution
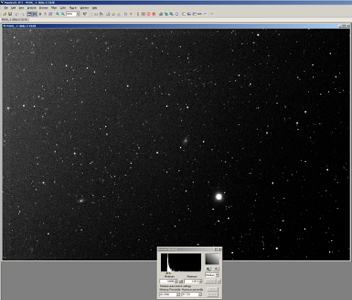
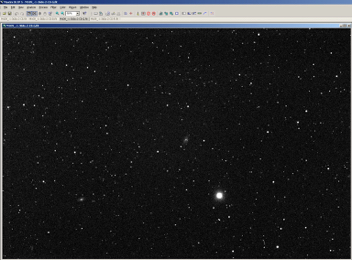
4. MaximDL-Process-Calibrate - Your image has been calibrated. The issues of the optics and the electronics are removed but the light pollution is still present. You see it now. The light pollution is not your fault but you must remove it as well
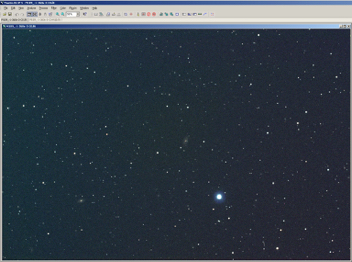
5. MaximDL-Color-Convert_Color - Transorm the color information in your RGB image in a true color image
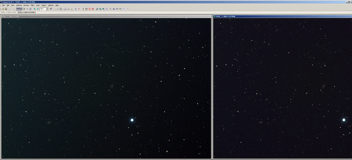
6. MaximDL-Process-Convert_Color - Use these setting to convert the color information of a QHY8L camera into a color image. Now the pollution of the night sky looks really bad. It is bad indeed. It is not your fault
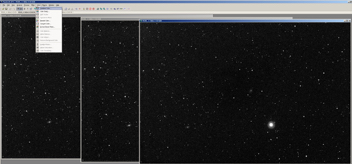
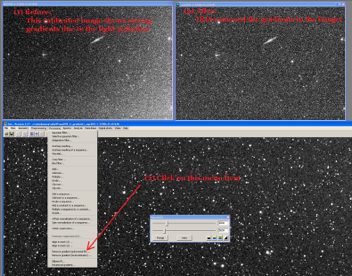
6a. If simply remove the gradient of this light polluted image via MaximDL-Process-Remove_Gradient you will detect several ungly areas with different colors. You must go another way to remove the gradients in your image. Now learn how to do it
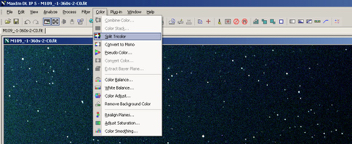
7. MaximDL-Color-Split_Tricolor - Split your image in thrre channels i.e. R G and B
8. Your image has been split in three channels. Notice the grade of the light pollution is different in each channel
9. Remove the gradient of the light pollution in each channel separately. This is the key of the whole story
10. Believe it. You cleaned the green channel of your image. Go on with the red and blue channels
11. After you cleaned the LP in all three channels combine them back to a clean color image
12. You can use these settings
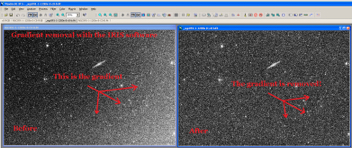
13. This is the cleaned image. Notice the galaxy M109. Remember you had shot it under heavy light pollution with an OSC cam and IDAS filter. Do you love photo processing. I do
14. Comparison - The uncleaned bad RGB image of step 6 is left - Our cleaned one of step 13 is right
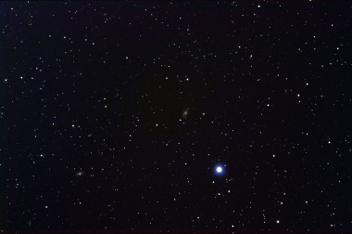
This is a summe of Messier 109 5x360s
10b. Comparison-before-after-removing-gradients-with-IRIS-software-HOWTO
10a. The same in IRIS -Comparison-before-after-removing-gradients-with-IRIS-software